Quick Start
This tutorial will walk you through creating a simple project that uses PHPBench as a dependency.
Create your project
Create a directory for the tutorial:
$ mkdir phpbench-tutorial
$ cd phpbench-tutorial
And create the following Composer file within it:
{
    "name": "acme/phpbench-test",
    "require-dev": {
        "phpbench/phpbench": "^1.0"
    },
    "autoload": {
        "psr-4": {
            "Acme\\": "src/"
        }
    },
    "autoload-dev": {
        "psr-4": {
            "Acme\\Tests\\": "tests/"
        }
    },
    "minimum-stability": "dev",
    "prefer-stable": true
}
Now perform a Composer install:
$ composer install
PHPBench should now be installed. Please create the following directories:
$ mkdir -p tests/Benchmark
$ mkdir src
Before you start
You will need some code to benchmark, create the following class:
// src/TimeConsumer.php
namespace Acme;

class TimeConsumer
{
    public function consume()
    {
        usleep(100);
    }
}
PHPBench configuration
In order for PHPBench to be able to autoload files from your library, you
should specify the path to your bootstrap file (i.e. vendor/autoload.php).
This can be done in the PHPBench configuration.
Create a phpbench.json file in the projects root directory:
{
    "$schema":"./vendor/phpbench/phpbench/phpbench.schema.json",
    "runner.bootstrap": "vendor/autoload.php"
}
Note
You can also run phpbench config:init to automatically create an empty config file, but you will need to manually set the runner.bootstrap option.
Above we also added the optional $schema which should enable auto-completion and
validation in your IDE.
Note
PHPBench does not require a bootstrap (or a configuration file for that matter). You may omit it if you do not need autoloading, or you want to include files manually.
Warning
Some PHP extensions such as Xdebug will affect the performance of your benchmark subjects and you may want to disable them, see Disabling the PHP INI file.
Create a Benchmark
In order to benchmark your code you will need to execute that code within
a method of a benchmarking class. By default the class name must
have the Bench suffix and each benchmark method must be prefixed
with bench.
Create the following benchmark class:
// tests/Benchmark/TimeConsumerBench.php
namespace Acme\Tests\Benchmark;

use Acme\TimeConsumer;

class TimeConsumerBench
{
    public function benchConsume()
    {
        $consumer = new TimeConsumer();
        $consumer->consume();
    }
}
Now you can execute the benchmark as follows:
$ ./vendor/bin/phpbench run tests/Benchmark --report=default
And you should see some output similar to the following:
PHPBench @git_tag@ running benchmarks...
with configuration file: /home/daniel/www/phpbench/phpbench-tutorial/phpbench.json
with PHP version 7.4.14, xdebug ❌, opcache ❌

\Acme\Tests\Benchmark\TimeConsumerBench

    benchConsume............................I0 - Mo185.000μs (±0.00%)

Subjects: 1, Assertions: 0, Failures: 0, Errors: 0

+------+--------------+--------------+-----+------+----------+-----------+--------------+----------------+
| iter | benchmark    | subject      | set | revs | mem_peak | time_avg  | comp_z_value | comp_deviation |
+------+--------------+--------------+-----+------+----------+-----------+--------------+----------------+
| 0    | benchConsume | benchConsume | 0   | 1    | 653,528b | 185.000μs | +0.00σ       | +0.00%         |
+------+--------------+--------------+-----+------+----------+-----------+--------------+----------------+
The code was only executed once (as indicated by the revs column). To
achieve a better measurement increase the revolutions:
// ...

class TimeConsumerBench
{
    /**
     * @Revs(1000)
     */
    public function benchConsume()
    {
        // ...
    }
}
Revolutions in PHPBench represent the number of times that the code is executed consecutively within a single measurement.
Currently we only execute the benchmark subject a single time, to build
confidence in the result increase the number of iterations
using the @Iterations annotation:
// ...

class TimeConsumerBench
{
    /**
     * @Revs(1000)
     * @Iterations(5)
     */
    public function benchConsume()
    {
        // ...
    }
}
Now when you run the report you should see that it contains 5 rows. One measurement for each iteration, and each iteration executed the code 1000 times.
Note
You can override the number of iterations and revolutions on the CLI using
the --iterations and --revs options, or set them globally in the
configuration.
At this point it would be better for you to use the aggregate report rather than default:
$ php vendor/bin/phpbench run tests/Benchmark/TimeConsumerBench.php --report=aggregate
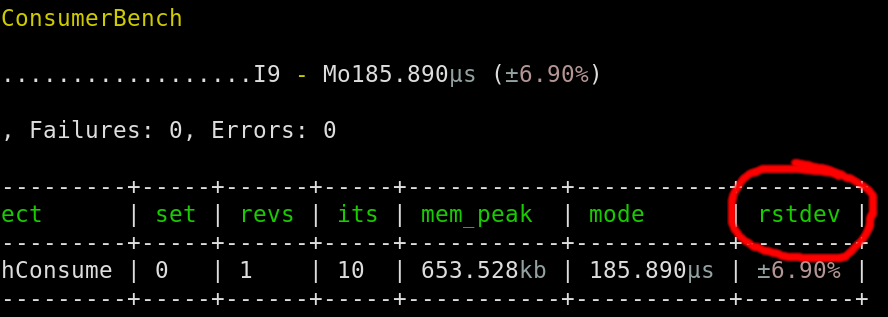
Increase Stability
Stability can be inferred from rstdev (relative standard deviation) , with 0% being the best and anything above 2% should be treated as suspicious.
To increase stability you can use the @RetryThreshold to automatically repeat the iterations until the diff (the percentage difference from the lowest measurement) fits within a given threshold:
Note
You can see the diff value for each iteration in the default report.
$ php vendor/bin/phpbench run tests/Benchmark/TimeConsumerBench.php --report=aggregate --retry-threshold=5
Warning
Depending on system stability, the lower the retry-threshold the
longer it will take to resolve a stable set of results.
Customize Reports
PHPBench allows you to customize reports on the command line:
$ php vendor/bin/phpbench run tests/Benchmark/TimeConsumerBench.php --report='{"extends": "aggregate", "cols": ["subject", "mode"]}'
Above we configure a new report which extends the aggregate report that we have already used, but we use only the
subject and mode columns. A full list of all the options for the
default reports can be found in the Report Generators reference.
Configuration
To finish off, add the path and new report to the configuration file:
{
    "runner.path": "tests/Benchmark",
    "report.generators": {
        "consumation_of_time": {
            "extends": "default",
            "title": "The Consumation of Time",
            "description": "Benchmark how long it takes to consume time",
            "cols": [ "subject", "mode" ]
        }
    }
}
Above you tell PHPBench where the benchmarks are located and you define a new
report, consumation_of_time, with a title, description and sort order.
We can now run the new report:
$ php vendor/bin/phpbench run --report=consumation_of_time
Note
Note that we did not specify the path to the benchmark file, by default all benchmarks under the given or configured path will be executed.
Summary
In this tutorial you learnt to
Configure PHPBench for a project
Create a benchmarking class
Use revolutions and iterations to more accurately profile your code
Increase stability with the retry threshold
Use reports
Compare against previous benchmarks with Regression Testing